
Installing removable or permanent air vents can be a tricky process, especially if you are not used to having to tape or mud in the vents. This is the reason why we put together this vent installation guide covering how to install Envisivent vents.
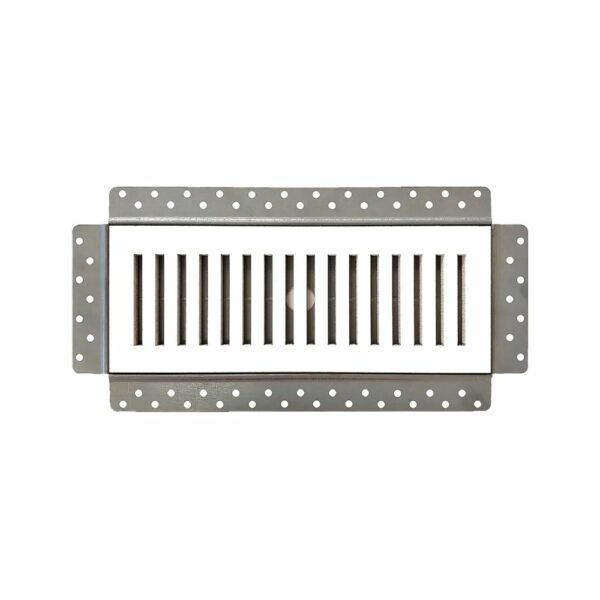
Removable Mud-In Flush Mount Air Return Vent Installation Guide
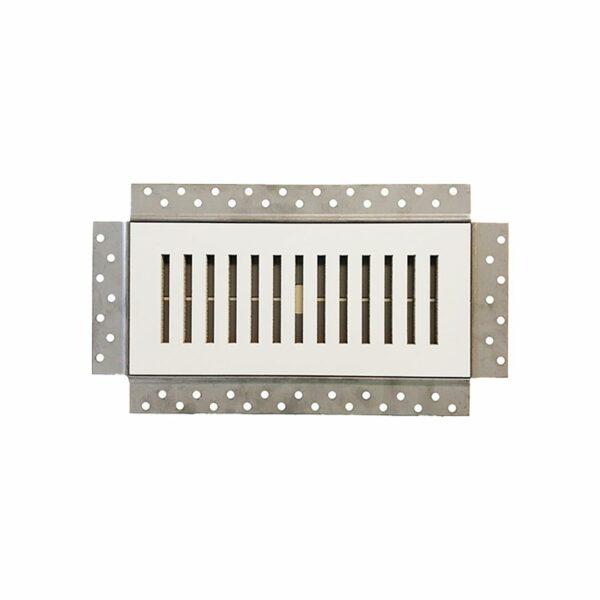
Here are the following steps for correctly installing Envisivent’s removable mud-in flush mount air return vent.
- Find the location of the product installation.
- Cut out the drywall in the area of vent and then dry place the back of the frame of metal to ensure it fits into the vent opening.
- Include a wooden backing on the frame to make it easier to fasten.
- Make sure the frame is flat and level with the drywall. When it’s fitted correctly and is secured using screws and wood backing, you can remove the air return vent that is magnetic.
- It is important to sand the frame of the metal in the walls, and make sure to feather or blend off the edges of the wall (minimum of 10″ feathering is recommended for seamless blend). Dura90 is recommended as the first coat. After that, for subsequent coats apply drywall compound.
- After the joint compound is dried, you will notice that the vent and drywall will appear to be seamless. If the vent appears to show through the drywall apply a second layer of joint compound.
- If needed, touch up with a third coat of drywall compound to create a smooth finish.
PRO TIP: With the air return vent inside the frame made of metal Use 1-1/4″ Fine Thread drywall screw to fasten the metal frame onto the existing drywall and studs, space every 6″ to 8″ to ensure that the frame isn’t twisted or flex during the installation.
PRO TIP: Take out from the air return vent to stop the vent slots from being exposed and filled using joint compound prior to using.
SKUs included are: CB5002/CB5003/CB5004/ CB5023/CB5024/CB5060/ CB5061/CB5062/CB5063
Use coupon code VENTS10 to save 10% off your order. Limit is 1 per customer.
-
Envisivent Removable Flush Mount Ceiling/Wall Air Supply, 4” x 10” (Duct Opening)
Rated 0 out of 5Air Returns USD $52.50 -
Envisivent Removable Flush Mount Ceiling/Wall Air Supply, 14” x 8” (Duct Opening)
Rated 5.00 out of 5Air Returns USD $70.26 -
Envisivent Removable Flush Mount Ceiling/Wall Air Supply, 6” x 10” (Duct Opening)
Rated 0 out of 5Air Returns USD $72.48 -
Envisivent Removable Flush Mount Ceiling/Wall Air Supply, 4” x 12” (Duct Opening)
Rated 0 out of 5Air Returns USD $65.08 -
Envisivent Removable Flush Mount Ceiling/Wall Air Supply, 30” x 8” (Duct Opening)
Rated 5.00 out of 5Air Returns USD $102.08
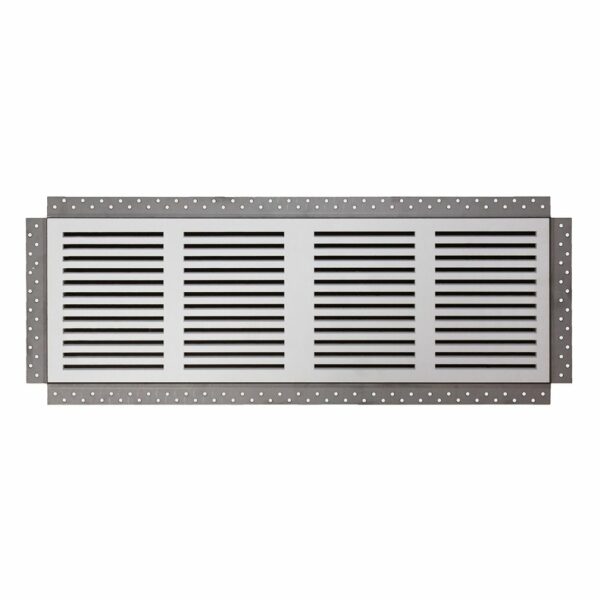
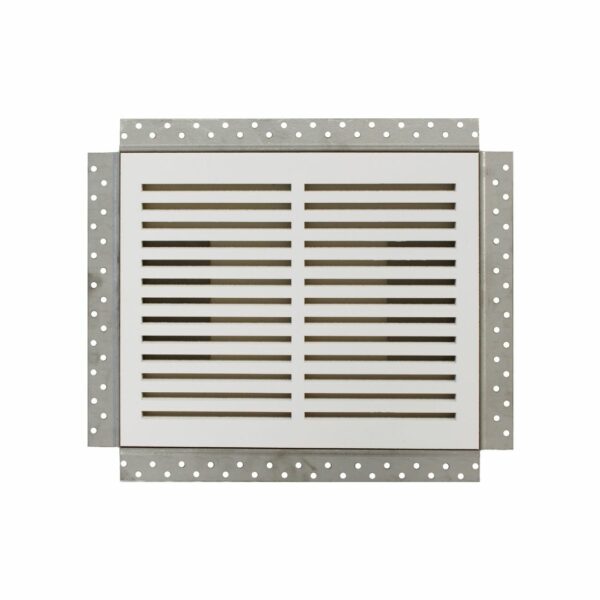
Permanent Mud-In Flush Mounted Air Return Vent Installation Guide
The permanent air vents from Envisivent are made to be installed once and never removed. These air vents are made to last for a long time..
Here are the following steps for correctly installing Envisivent’s removable mud-in flush mount air return vent.
- Find the postion where the vent needs to be installed.
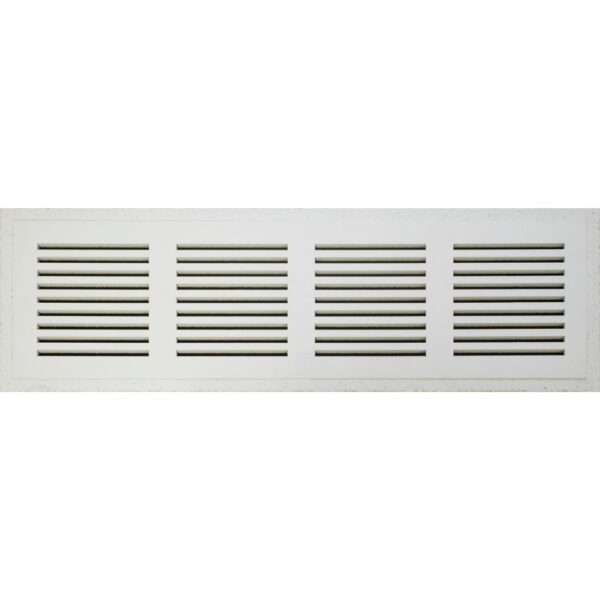
- Cut away the drywall in the vent’s location and ensure that every vent be at a level with the wall (Note that the primed side with beveled edges is to be facing you when installing).
- Position the air vent’s angled slots to prevent looking into the vent opening.
- Then, you can simply fasten the vent to the studs. If you are using drywall screws, pre-drill each place a screw is to be placed and counter-sink the screws appropriately. (Note that we advise you to utilize a 1-1/4″ length air nail or drywall screw and space every 6″ to 8″).
- Complete the beveled edge by applying fiberglass mesh tape and joint compound (recommend Dura90 for the initial coating) and blend it into the drywall.
- Feather your joint compound away from the vents for air returns.
- Once the joint compound is dry, you can then start sanding. You should notice the frame of the vent blending into the drywall to create a seamless effect.
- You may require a second or third coat using drywall compound to get a seamless finish.
A tip: If you’re concerned about the slots for the air return vent becoming contaminated with joint compound, painter’s tape can be placed over the area of the slotted part and remove it after the mudding process has been completed.
SKUs included are: CB5000/CB5001.
Use coupon code VENTS10 to save 10% off your order. Limit is 1 per customer.
-
Envisivent 30″ x 8″ Permanent Mud-In Flush Mounted Wall Air Return
Rated 0 out of 5Air Returns USD $66.56
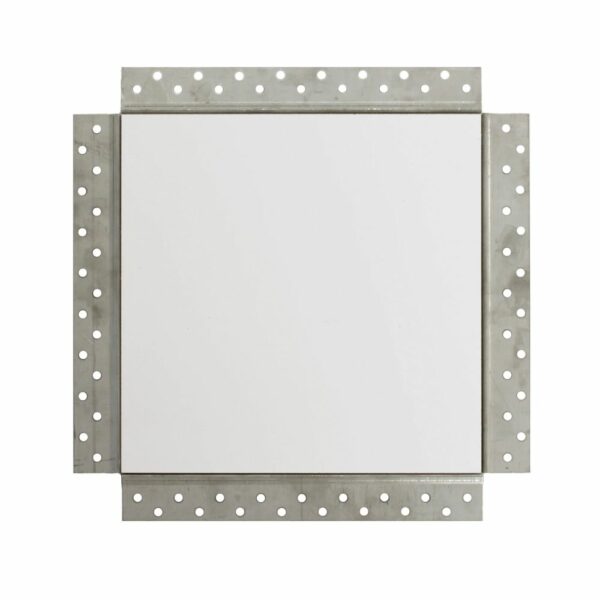
Magnetic Mud-In Flush Mounted Access Panels Installation Guide
Here are the following steps for correctly installing Envisivent’s magnetic flush mount access panels.
- Find the place of installation you’ll need access.
- Cut away the drywall in the part in the access panel and then dry-fit the the frame in order to ensure it is a perfect fit into the opening.
- If needed, add a wood backing to the frame to make the access panel easier to fasten.
- Make sure the frame is flat and level with the drywall. When it’s properly installed and secured by screws and wood backing, you can remove the access panel.
- It is important to feather or blend off the edges of the access panel with the wall (minimum of 10″ feathering is recommended to blend smoothly). Dura90 is a good choice as the initial coat. The subsequent coats should be followed by a drywall compound to make sanding easier.
- When joint compound is dry, you can then begin to sand while ensuring the access panel is flushed with the drywall (Note an additional skim coating of joint compound may be required).
- If necessary, you can use drywall compound for a third coat to get the seamless finish. It is important to note that the access panel dimensions on the packaging are approximately access panel door size. The accessible area is 2″ less than the stated dimensions. Please look up the information on www.envisivent.com for more details.
SKUs included are: CB5005/CB5006/CB5007
Use coupon code VENTS10 to save 10% off your order. Limit is 1 per customer.
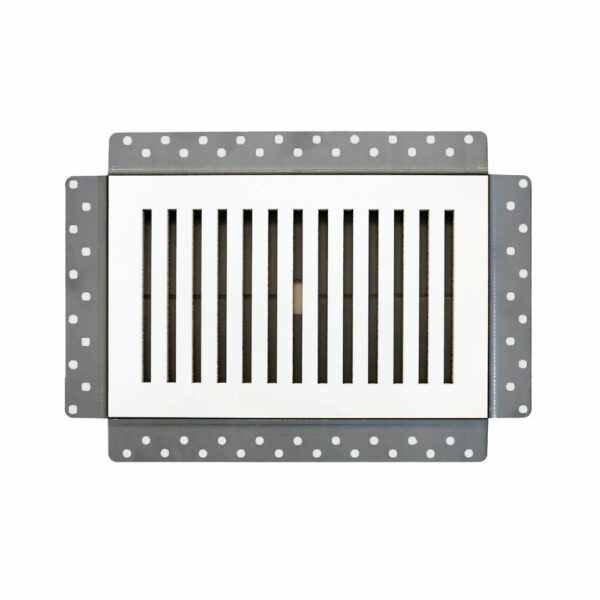
Magnetic Mud-In Flush Mounted Bathroom Exhaust Fan Cover Installation Guide
Here are the following steps for correctly installing Envisivent’s magnetic flush mounted bathroom exhaust fan covers.
- Find the location of the product installation.
- Cut away the drywall in the ventilation area and then place the back of the vent onto the frame in order to ensure that it is a perfect fit into the vent opening.
- Add a wood backing to the frame to ensure better fastening.
- Make sure the frame is flat and flush with the drywall. When it’s fitted correctly and is secured using screws and wood backing, you can remove the exhaust fan cover.
- The metal frame should be attached to the ceiling and make sure to feather or blend off the edges of the walls (minimum of 10″ feathering is recommended to blend smoothly). Dura90 is recommended as the first coat. After that, for subsequent coats apply a drywall compound to make sanding easier.
- When the joint compound is dry, you can then start the process of sanding and blending the exhaust fan cover with the drywall.
Note: The second coating of joint compound such as a drywall compound is suggested after the first installation step is completed.
- If needed, touch up a third coat of drywall compound. This might be required to create the seamless finish.
PRO TIP: With your exhaust fan cover within the frame, use 1-1/4″ fine thread drywall screw to fasten the metal frame onto the existing drywall and studs. Space every 6″ to 8″ to ensure that the frame doesn’t twist or warp during installation.
Pro Tip: Remove the exhaust fan’s magnetic cover to stop the vent from being exposed. Fill them with joint compound prior to using.
Important: The exhaust fan requires an additional 1/4″ – 1″ of clearance in order to allow the fan blade to have enough clearance.
SKUs included are: CB5021/CB5022
Use coupon code VENTS10 to save 10% off your order. Limit is 1 per customer.
-
Envisivent Magnetic Mud-In Flush Mounted Bathroom Exhaust Fan Cover
Rated 5.00 out of 5Exhaust Fan Covers USD $60.64 – USD $95.87