Everything you need to know about power sanding
Sanding drywall was once a long and tedious task that would take an entire day or more to complete one room. Power sanders, also known as drywall sanders or orbital sanders, have revolutionized the task of drywall sanding. Allowing the tool to not only sand for you but also vacuum any dust that is generated from sanding allows for a faster sanding and clean up afterwards. Whether you are a sanding novice or a sanding pro, we will go over some tips for you to incorporate into your next sanding job. If we missed anything, please let us know by reaching out to our Instagram account and we’ll add it to the list linking you as the source.
What You’ll Need For Power Sanding
Before we get into the professional tips for power sanding we will go over the products you’ll need for a successful power sanding job.
Power Sanders
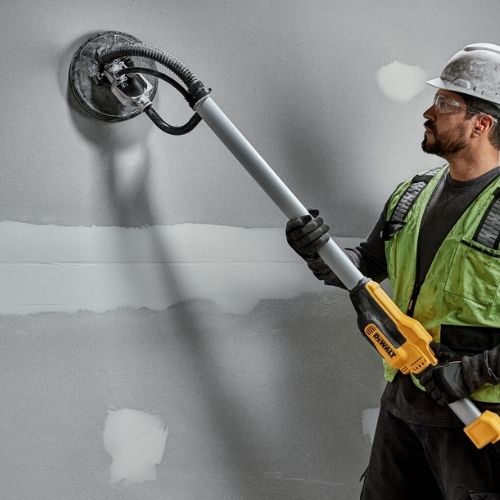
The best tool to use for sanding drywall.
Sandpaper
We carry the brands you can trust your sanding jobs with.
Shop Vac
Used for vacuuming up the dust created from the sander.
Tarp Covering
Used for covering your furniture, capturing dust, and blocking doorways before sanding.
Sanding Sponges
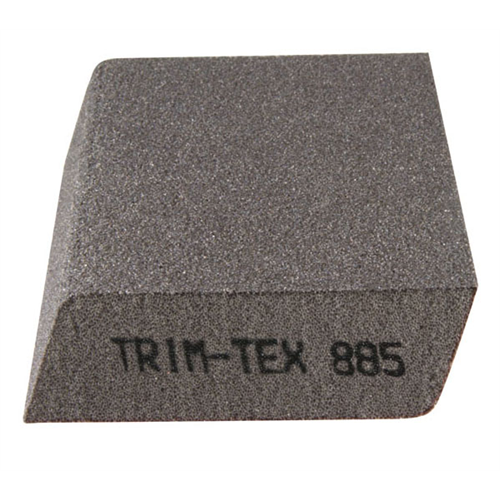
Sanding sponges are great for getting into the corners and wet sanding.
Putty Knife
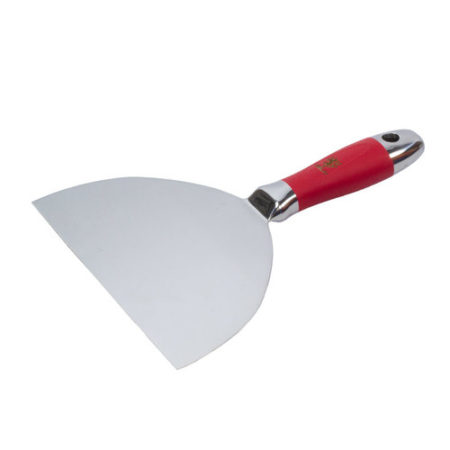
To fill any holes or gouges made during the sanding process
Joint Compound
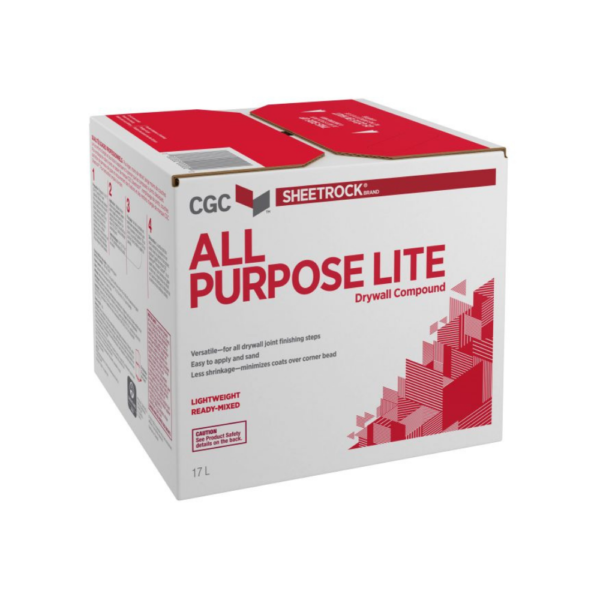
Used for filling any uneven surfaces or mistakes made during the sanding process.
Power Sanding Tip 1: Prepare The Room
Before you start sanding, you will need to seal the room. The reason to seal the room before sanding is to eliminate the dust escaping into other rooms or have the dust be carried by a draft making it harder to clean. Close any windows, shut any doors, lay a tarp to catch dust, before sanding.
Power Sanding Tip 2: Prepare Yourself
Not only do you want to prepare your room and drywall for sanding, you want to prepare yourself for this job as well. Make sure you are wearing all the protective equipment so you are not inhaling a vast amount of dust damaging your lungs. Wear a dust mask, googles, and a hat so that you are protected from the dust that will start to circulate.
Power Sanding Tip 3: Prepare Your Drywall
There are two ways to sand your drywall. You can sand it dry or you can wet sand your drywall. The biggest pro to dry sanding is that it provides the smoothest finish between the two. However, dry sanding produces a lot of dust which makes people prefer to wet sand their drywall instead. Decide on which method to sand then get started.
Power Sanding Tip 4: Choose The Right Sandpaper
Choose the correct sandpaper for the job you are doing. Coarse sandpaper has a grit number between 20 – 36 and are used for removing an existing finish and smooth out a rough surface. Medium range sandpaper has a grit range of 40 – 60 and removes paints and stains from the surface. Finally, fine sandpaper has a grit rating between 150-180 and is used for finishing a surface.
Power Sanding Tip 5: Let the Sander Do the Job
This may sound obvious, however, many people who first use a power sander lean their entire body into the sander pushing harder than needed creating an uneven surface when the goal of sanding is creating an even surface.
Power Sanding Tip 6: Keep the Sander Flushed Against the Wall
While using a drywall sander you start to notice you are getting scratches and scrapes, one of the reasons for this is because you might be sanding at an angle. Wet sanding can hide imperfections in your sanding, yet, if the damage is too great then you will need to reapply more joint compound and will have to sand again. To get the best results out of sanding, sand either up and down or side to side.
Power Sanding Tip 7: Avoid Oversanding
Oversanding will damage the surface of the drywall and require repairing. If you are in doubt, start by sanding lightly then work your way up. You can always sand more if needed but if you sand too much you will need to reapply mud, wait for it to dry, then sand again.

