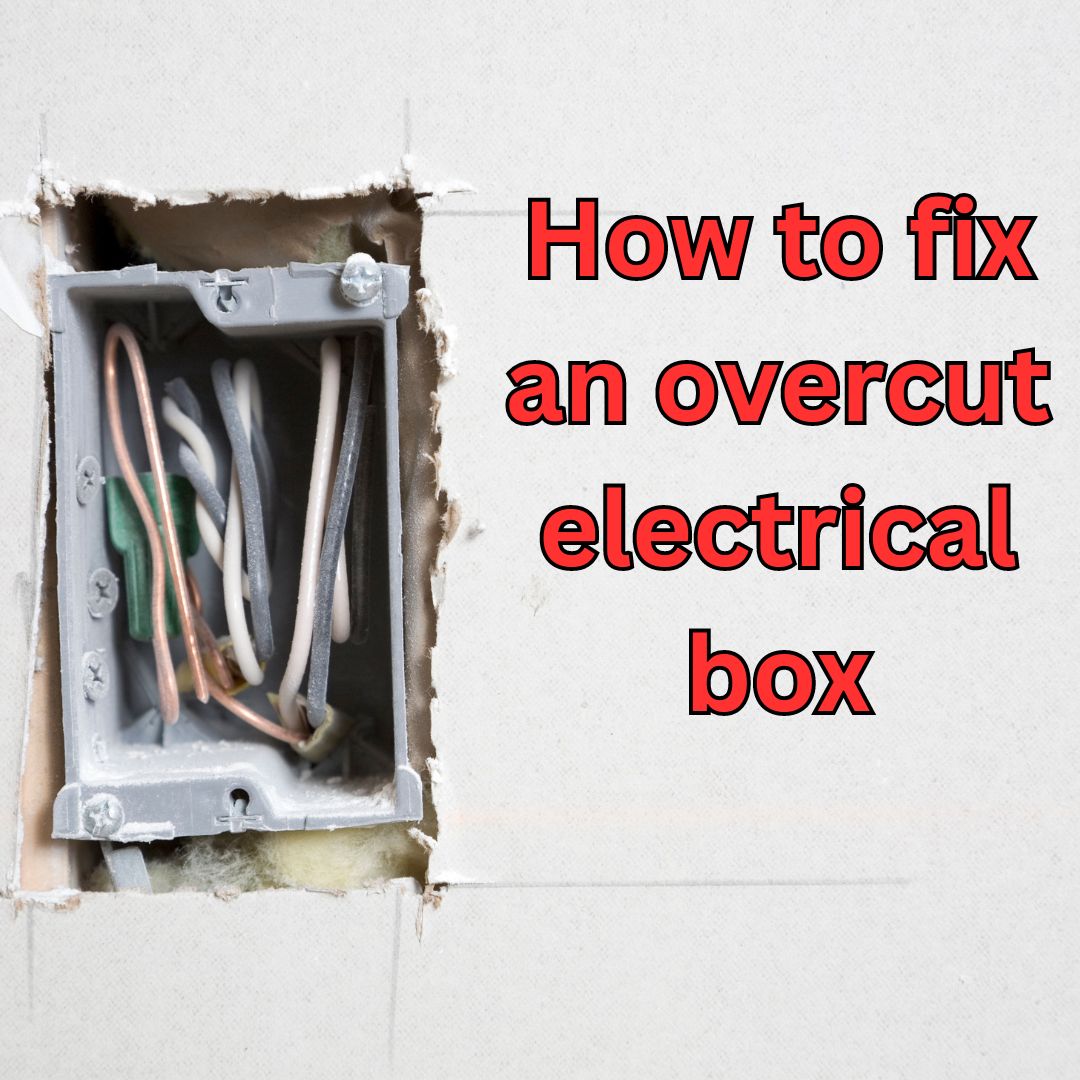
Overcut electrical boxes are a headache. Electrical boxes can be a pain when working with drywall. Sometimes electrical boxes need to be removed or readjusted and you will need to cut into the drywall to make this happen. Once you are done with cutting the drywall and organizing the electrical box, you have to repair the damage done to the drywall. Before you begin to repair the overcut, make sure to cut the power off. This way you will not electrocute yourself.
Step 1: Trim the area around the box
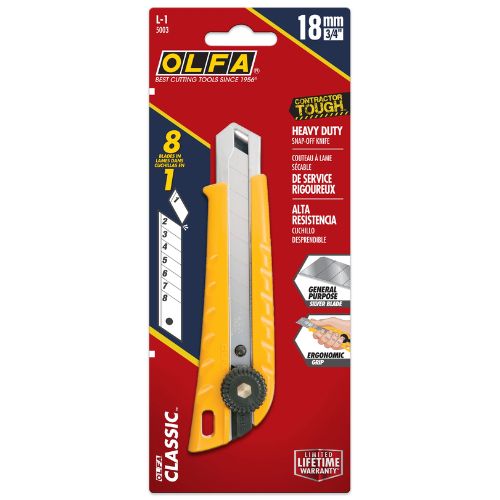
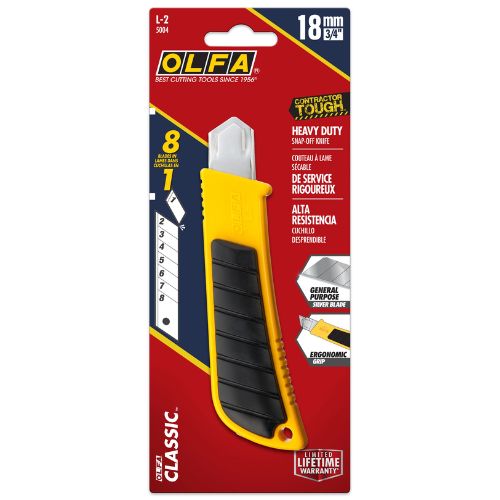
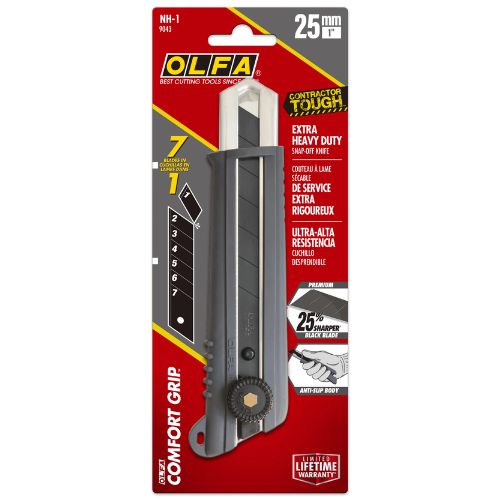
Once you are done turning off the power, take your Olfa knife and cut out any protruding drywall debris. This will let you start off with a cleaner and flatter surface area for you to work on.
-
OLFA NH-1 Super Heavy Duty Knife w/Soft Handle EA (#9043)
Rated 0 out of 5Utility Blades & Knives CAD $20.48
Step 2: Fill in the gaps and tape
Now that you have a clean surface area to work with, it is time to fill in the gaps with joint compound. We recommend using a quick-set joint compound for this job as you will want to speed up the job faster. For repair jobs like this, you can also add some glue to your compound for a better adhesive for the tape. Once you are done applying the compound it is time to apply the tape. Make sure the tape is applied directly next to the electrical box so there is no gap. Then apply compound to tape like usual.
Step 3 Sand the area clean
Once the mud has set, it is time to stand sanding the area smooth. You can sand the area using a trim-tex sanding sponge. Once you are done sanding, apply another coat of compound and sand as needed.
Step 4 Clean the electrical box
For the last step of our guide, we will include cleaning the electrical box. We always want to pay it forward for the next trade that has to work on the project. This includes cleaning away any debris that covers the electrical box. You can do this by using an Olfa knife and simply cutting around the box.

