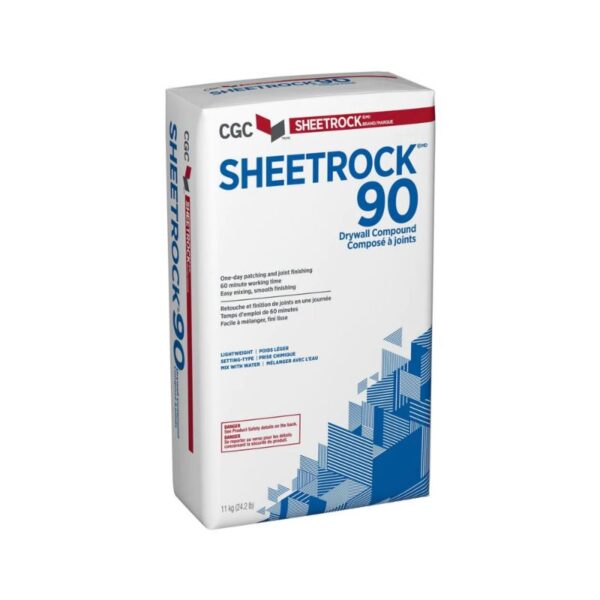
Drywall joint compound is a profoundly flexible substance. It’s easy to utilize and it can give texture to any project you need. Regularly, drywall joint compound is utilized to make different drywall textures, including orange peel, popcorn styles, and simple smooth walls. The incredible thing about adding a textured surface to your home’s walls or ceilings is that it’s extremely simple to do.
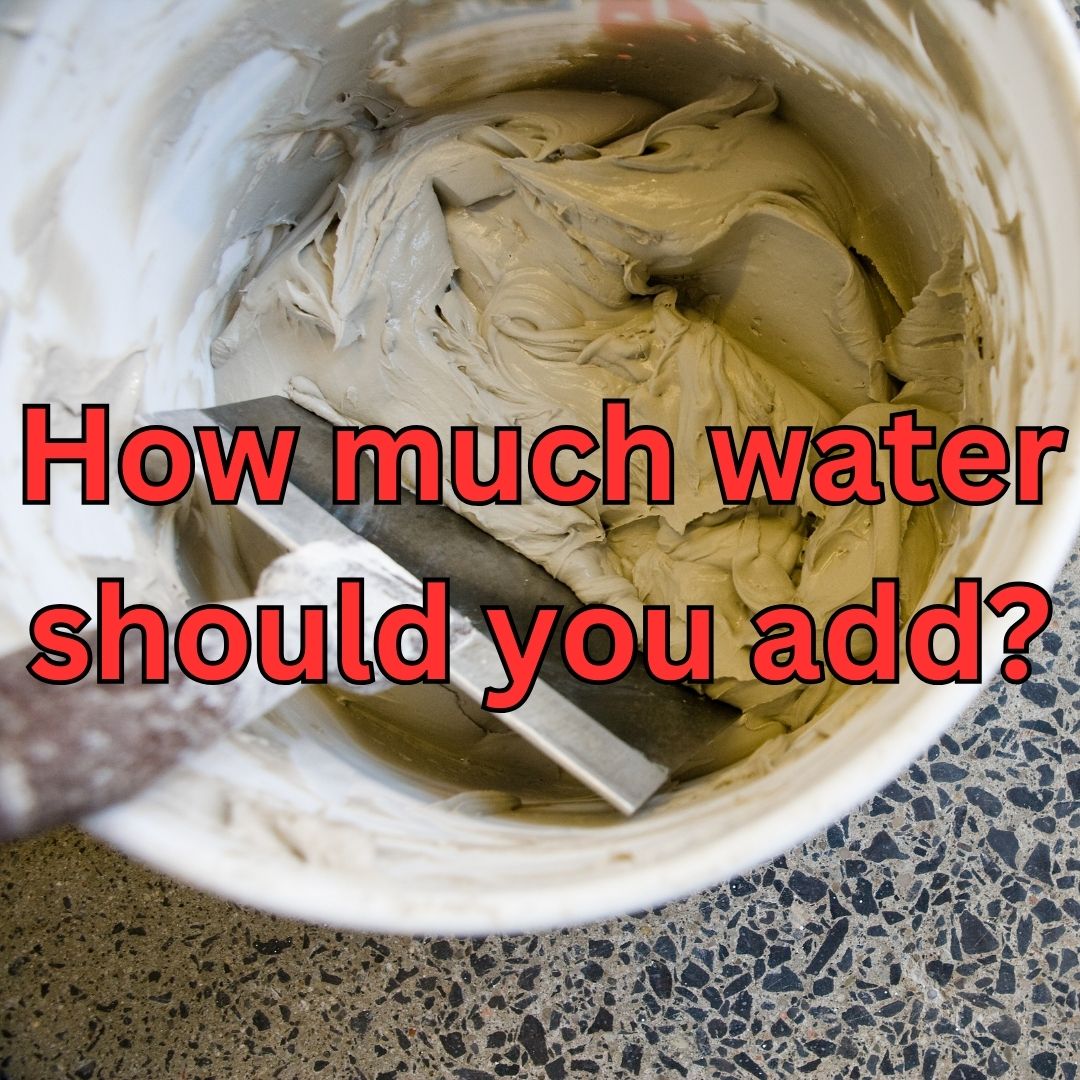
To add water to the joint compound, simply add 8 ounces of water to a 5-gallon bucket of joint compound. Mix it using a spade drill and mixing paddle, and if it is still excessively thick, add more water. We recommend adding only a couple of ounces at a time until the consistency resembles cake batter.
A well-done drywall compound mixture can assist with covering blemishes, similar to joints or nails. Blending drywall joint compound is not difficult to do. In this article, we will give you the guidelines for how to make the joint compound texture in the perfect consistency so you can complete the texture or taping job.
How do you prep joint compound for finishing?
To set up a joint compound for finishing, you want to begin with your joint compound in a five-gallon pail. Pick the sort of joint compound you need for your drywall project. Once you are done placing your compound into a bucket, add water until it turns into the consistency of a thick pancake batter.
Step 1: Pour the compound
You will need a five-gallon bucket or greater to mix your mud in. First pour your drywall compound into the bucket straight from the box or bag of compound.
Step 2: Add water to the compound
Add 8 ounces of water to the compound and mix it completely. Instead of adding all of the water at the same time, it is best to gradually add water while mixing. Pouring gradually guarantees that the water is blended completely and accurately. In case you pour too much water into your compound, you can add more drywall compound to correct the right consistency.
Step 3: Measure the consistency
When you check the consistency of the compound make sure the consistency ought to be thick, in addition to being thin enough to be able to run. On the off chance that the drywall compound is excessively thick, you can add more water by ounce in turn until you arrive at the ideal level. Then again, if it’s excessively thin, you will need to add more compound.
Step 4: Add water and mix as needed
If the compound is thick or doesn’t run, add 2 to 3 ounces of water and mix it. Keep on adding a couple of ounces of water at a time until you get the right consistency arranged.
Step 5: Blend completely
Try to blend the compound completely for consistency as you use it and to accurately ensure the compound dries.
How do you apply joint compound to walls?
Step 1: Tape
Before you begin applying joint compound to your walls, it’s really smart to tape off any areas that you don’t believe the compound should contact. When it dries, you would need to sand the first layer of compound to achieve a smooth wall and have a clean canvas for applying a new layer of drywall compound.
Step 2: Cover the floors
When you tape off the area you will be working in, you ought to add a cover on the ground. Any splatters will then, at that point, fall onto the cover, keeping your floors clean. Ensure you tape the sides of the covering to the ground to keep it set as walking on the cover will make it shift and move, possibly negating the cover’s purpose.
Step 3: Apply the compound
To apply the joint compound, blend it to the thickness of pancake batter. Then, apply the joint compound to the wall with either a drywall trowel or knife. You can also use flat boxes to apply compound if you would like to speed up the process.
If you are making a stylized texture do not stress over creating the pattern at this stage. You will make the pattern the third time you apply this compound on the walls.
Step 4: Allow the drywall compound to dry
After you’re finished covering the wall with compound, allow the wall to dry completely. It might take more time than 24 hours for the drywall compound to dry, so ensure it’s completely dry before proceeding to the next step.
Step 5: Sand the Drywall Compound
Then, you’ll need to sand down the layer you just applied before you start adding the next layer of compound. Repeat steps 3 and 4 until you are prepared to complete the third layer.
Step 6: Add Texture
When you are ready to start the third layer of compound this is where you will start to add your texture. Slowly, apply the compound with either a roller or spray in a way that makes a pattern without a crease.
On the other hand, if you are continuing to make a smooth wall texture, you can repeat the steps from above to achieve your goal. To achieve a smooth texture, we suggest using a skimming blade to speed up the process and get the smoothest result.
Do you have to apply a primer before adding a joint compound texture?
No, you don’t have to apply a primer prior to applying drywall joint compound. Joint compound sticks to walls well without requiring a smooth base coat.
On the off chance that you might want to add a primer, add your primer no less than 24 hours before you add your joint compound, and ensure the primer is thoroughly dry.
How long should you wait for joint compound to dry between coats?
Likewise, with any sort of wet application, you want to let it dry before it will set. After you set down the joint compound on your walls, permit it to dry for 24 hours between each coat.
You’ll have to wait 24 hours to sand, paint or prime over the joint compound. Remember that 24 hours of drying time is the expected time. The time for drywall compound to dry is subject to change. Assuming your workspace is damp and warm, it might take more time for the compound to dry. Also, cooler, drier air might make the compound dry all the more quickly.
What sorts of joint mixtures are there?
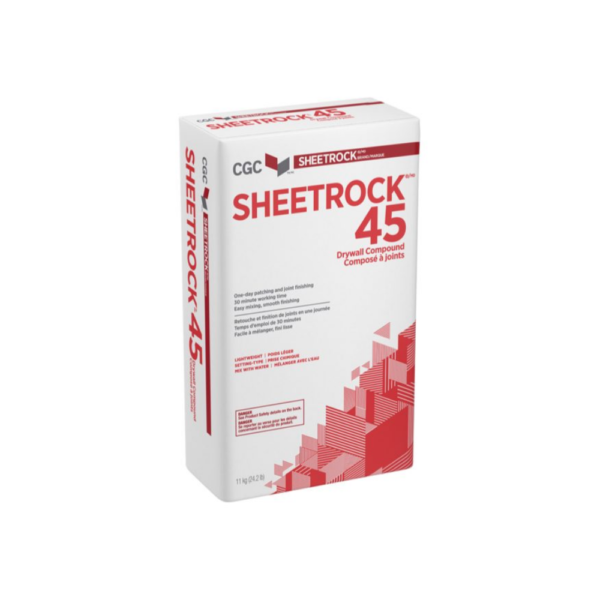
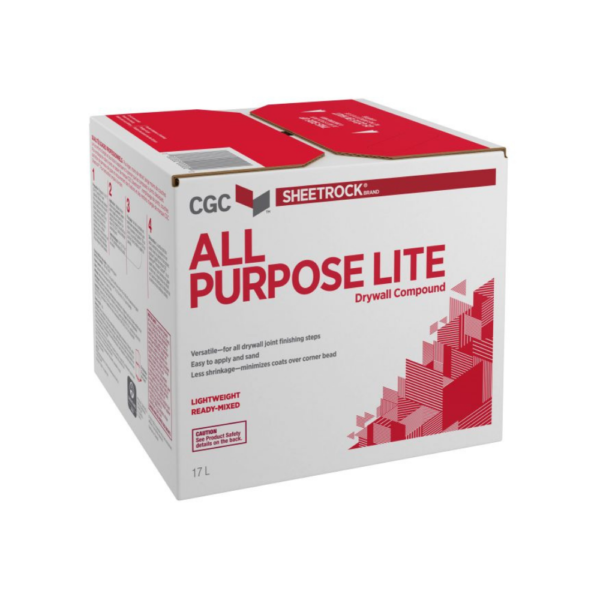
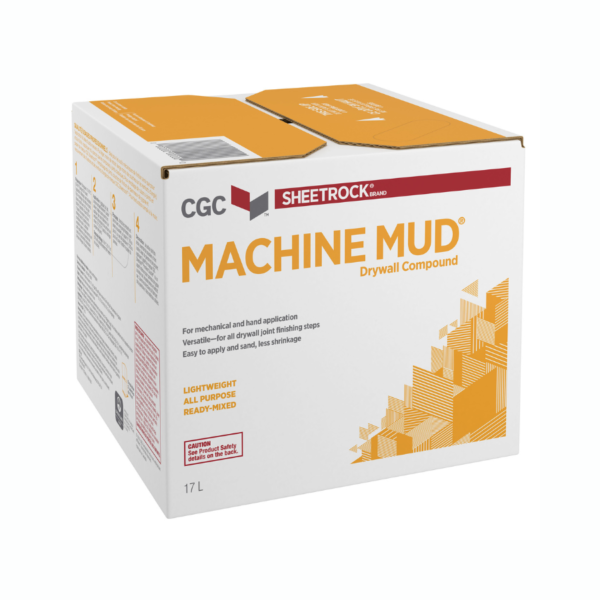
There are three primary kinds of joint mixtures that you can use for your venture. These can come premixed or unmixed, contingent upon your inclination. You can read our guide on drywall compounds to learn more about this topic.
Is spackle equivalent to joint compound?
Spackle isn’t equivalent to joint compound. Spackle is appropriate for patching holes in your walls, and setting walls up for painting or finishing. However, spackle is best utilized for small repairs. To learn more about spackle make sure to read our drywall joint compound vs spackle article.
Related Questions
What sort of texture is ideal for my task?
There are different sorts of textures. The right one for your walls might be smooth, sanded, popcorn, orange peel or others. To see which ones you read our article on different types of drywall textures and see which one is right for you.
Can you texture ceilings to conceal blemishes?
Yes, if the finish on the ceiling has some errors, instead of redoing the compound you can cover it effectively with a finishing texture. We recommend doing it correctly the first time or fixing any blemishes or errors before texturing your ceiling.
In Conclusion
When making drywall joint compound for textures, you should guarantee that the water and compound mixture is made appropriately. After adding 8 ounces of water to your mixture measure the consistency. If the compound is excessively thick, you can add more water or more compound to reach the consistency you are looking for.

